
Are birthdays underrated?
Last week I was searching through my stash of cards for a birthday card and I had a hard time finding one. It was for a coworker, someone I liked but didn’t know particularly well, so all of my “you’re such a great friend” cards didn’t feel appropriate. I finally found one that said “Happy Birthday” – the sentiment I wanted to express – in the back of my stash.
While making my project for this month, I had a similarly hard time finding Happy Birthday sentiment stamps, especially ones that fit the card design I had in mind. I know I’m going to make more of a concerted effort to make Happy Birthday cards from now on instead of always trying to find something unique to say.

I had the idea for this project when I saw the Year of Flowers bundle that came out with this month’s Online Exclusives. I love the idea of birth flowers and flower meanings, and I knew I wanted to do something with this set. I love how the calendar looks like a flower garden, and it was fun looking up all of the flowers to decide how to color them.
I used Stampin’ Blends for the flowers, but I used Stampin Write Markers for the stem, because there isn’t a Garden Green Stampin’ Blend and the stems are so small. I think the stems came out really nicely.
I used glue dots to help line up the flowers before I glued the cards together. I considered arranging them randomly so it would look more dimensional, but I think it looks neat seeing how far into the year it is based on which flower is in front.
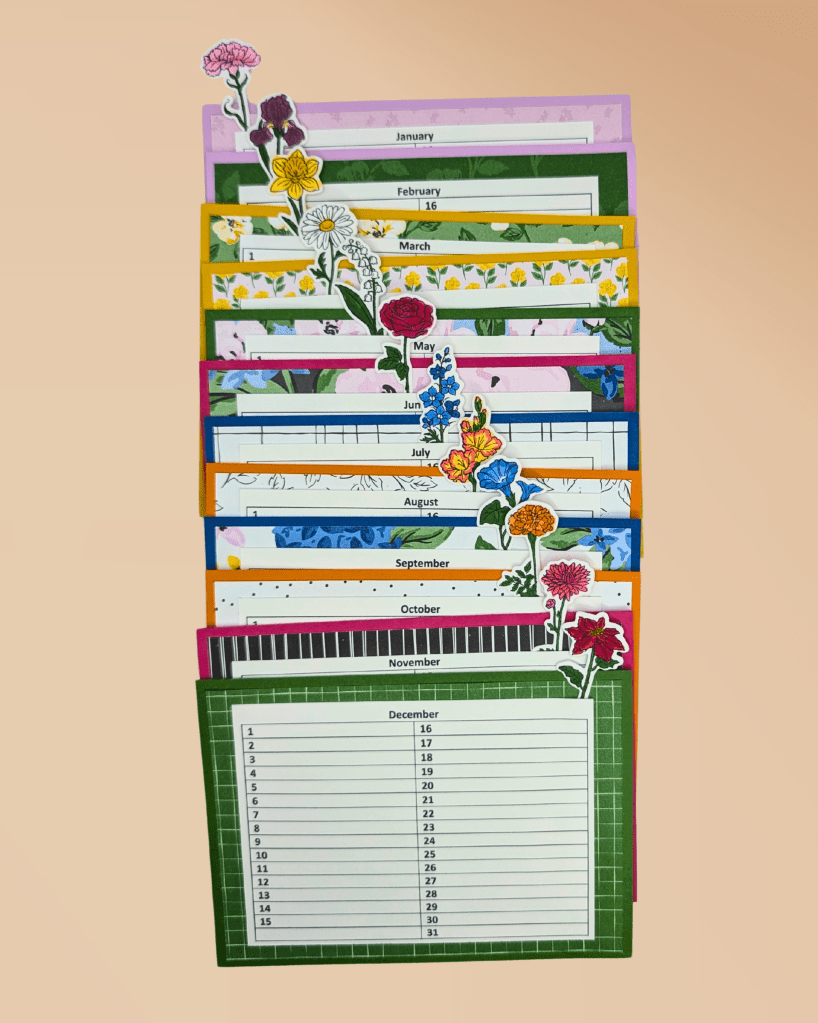
Speaking of, did you know there are several different flowers for most months? Nearly every month has two or three different flowers that represent them when you look online, and it was interesting figuring out which ones were in this set.
January – Carnation
February – Iris
March – Daffodil
April – Daisy
May – Lily of the Valley
June – Rose
July – Larkspur
August – Gladiolus
September – Morning Glory
October – Marigold
November – Chrysanthemum
December – Poinsette

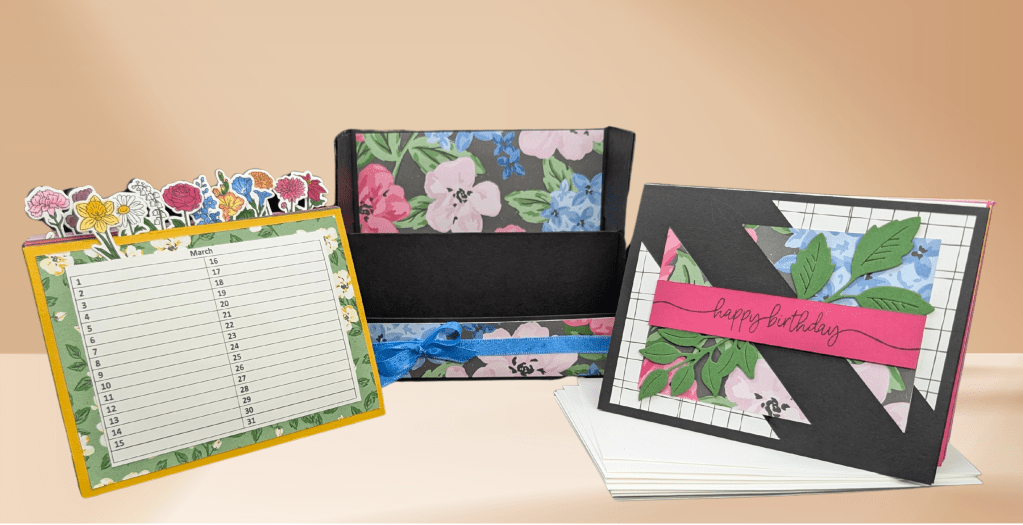
I had a lot of fun making the flowers, and was too tired to design my own calendar template, so I used this template made by Jeanie Stark. It fits nicely on a 5 1/2″ x 4″ card and leaves some room to show some pretty patterned paper behind it.
If you haven’t heard of a perpetual birthday calendar before, the idea is that you keep track of people’s birthdays month by month. You change the card on the first of the month and can see all of the birthdays coming up and you’ll know who to send birthday cards to! This design has a space for the calendar cards and a space behind to store birthday cards, so you’ll never need to search around to find them when you want to write some.

This box was difficult to design. I used the same design principles that are shown in this blog post and video but I changed up the dimensions. I used three sheets of paper to make the box – one for the front half, one for the back half, and one for the spacer.
The box measures 5 3/4″ wide, 5″ tall in back, 1 1/2″ tall in front, and 2 5/8″ deep. I made the spacer 3″ high and it separates the box into a 5/8″ space and a 2″ space (though that ended up being a bit smaller to make the spacer fit). If I make the box again, I might make it 5 7/8 or 13/16″ wide, so that envelopes fit in it a bit easier. If I do that, the box won’t be able to be as deep, because I was using 8.5 x 11″ paper and so I was restricted by that.

Make sure you check out what Mary and my mom made! I hope to use their designs to fill up my new box.
Happy Birthday and happy crafting!


2 responses to “ISS Blog Hop – Celebrating Birthdays”
Wow!! That box is just gorgeous- with that beautiful Designer Series Paper! And I love those flowers. Need to get that set- for sure! Thanks for the measurements & inspiration!
LikeLike
Wowza, Malia! That is awesome. Love the flowers to each month idea.
LikeLike