
As someone who publishes designs online, I am often left wondering if the design I am making has a name. Usually, I try to come up with something that sounds good, often by asking my mom for her opinion. This design was no exception.
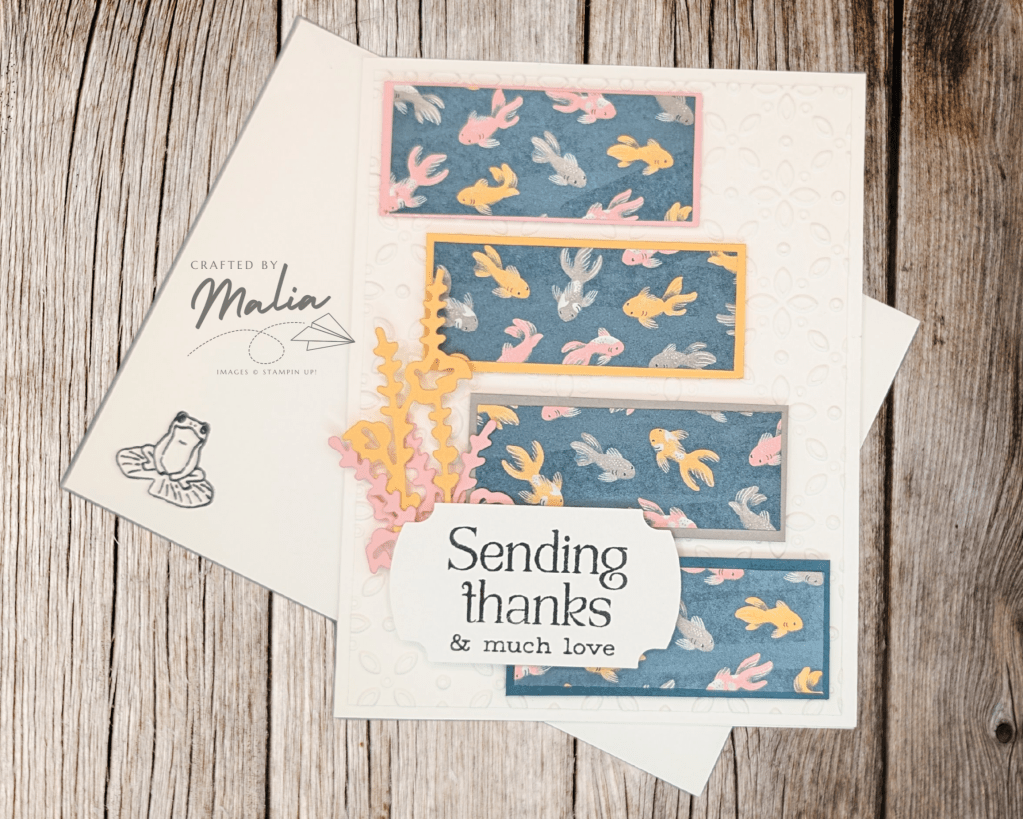
My team leader (who is also my mom) usually has us make a mystery stamping card at our monthly meetings. She doesn’t show us the design before but she gives us dimensions of paper that we will need to make the card. This month she asked us to make four strips of cardboard that coordinated with our DSP, but didn’t specify if those should all be different colors or the same, so I decided to make two cards.
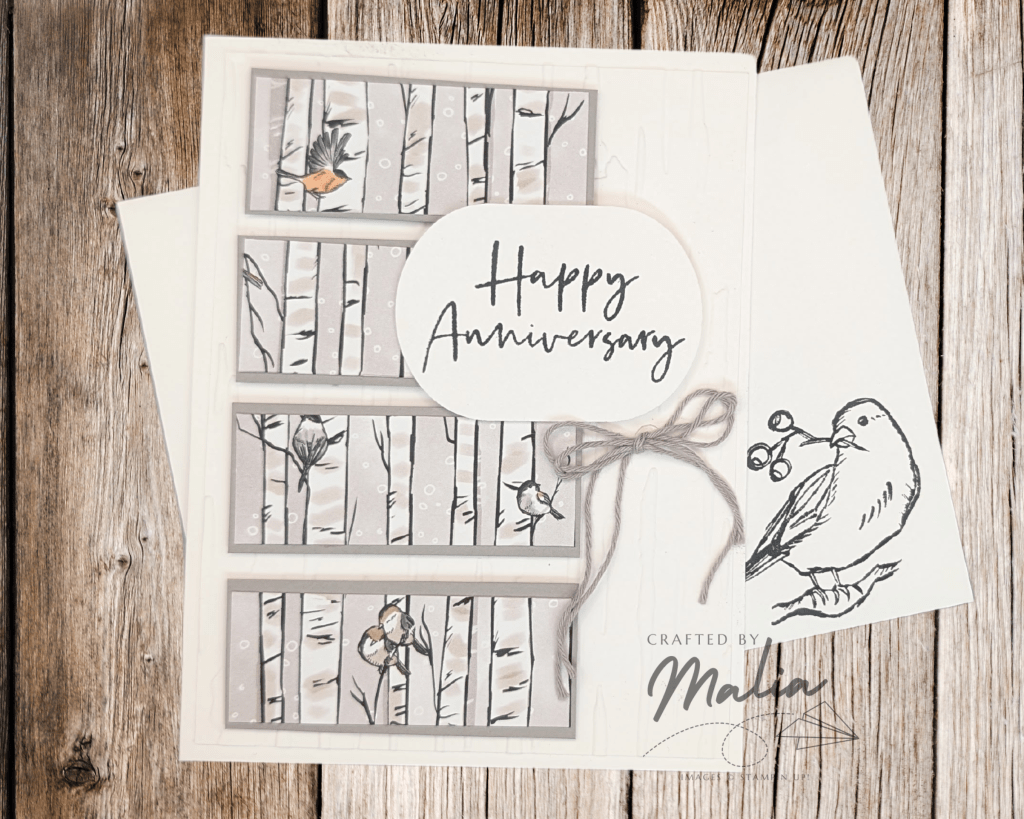
This design is very simple but also easy to step up if you want to. You don’t need to use embossing folders, die-cut pieces, or other embellishments, but you totally can.
To make this card, we needed to prepare:
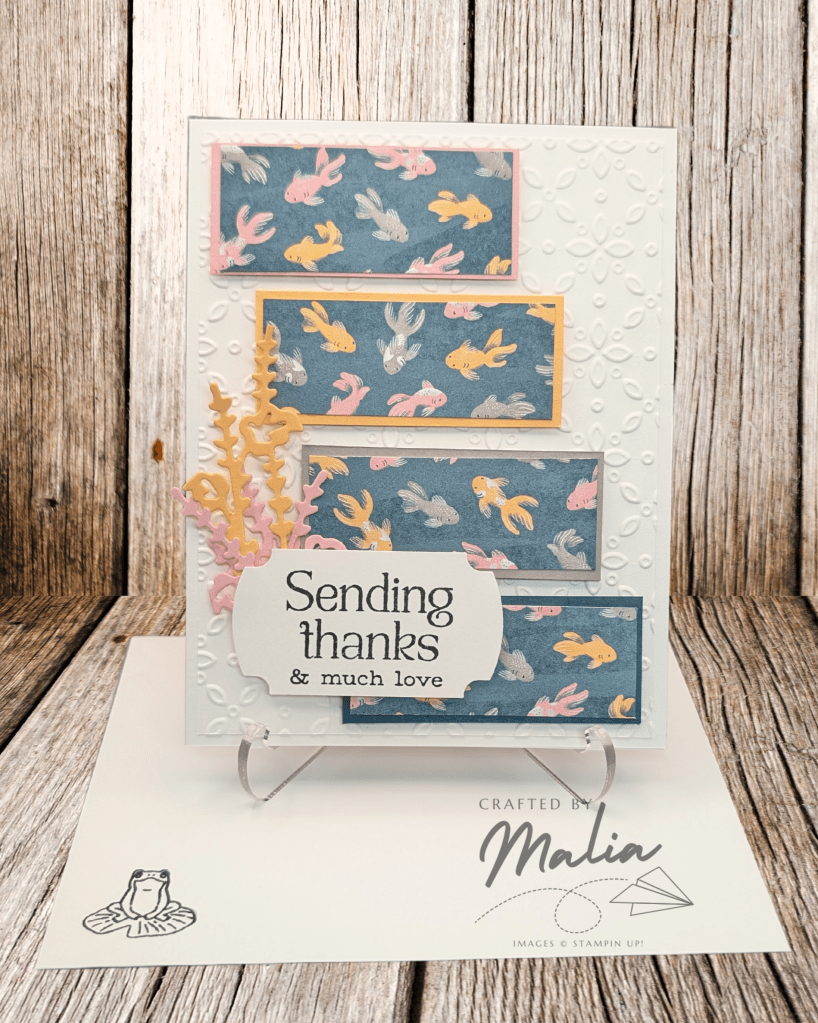
- Thick Basic White card base: 8 1/2″ x 5 1/2″ scored down the middle at 4 1/4″
- Basic White piece: 5 1/4″ x 4″ (which we then embossed with a 3D embossing folder)
- DSP piece: 2 1/2″ wide x 4″ long
- 4 cardstock pieces that match the DSP: 2 5/8″ x 1 1/8″ each
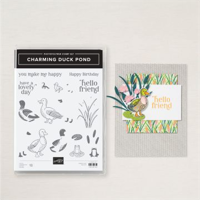
- Sentiment piece
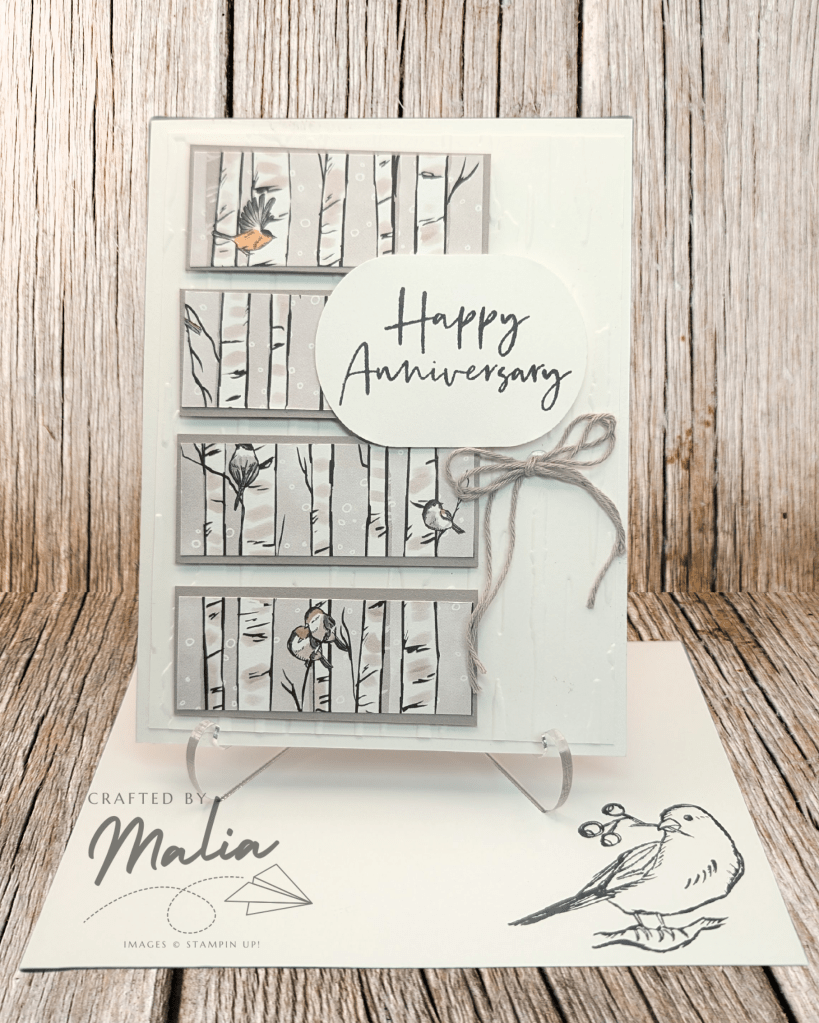
We then cut the DSP piece into four 1″ tall strips and glued them to the cardstock pieces and assembled the rest of the card. We were encouraged to be creative and decide how to place the pieces and what embellishments to use. Everyone’s cards came out so well! I’m often reticent to use a white based card without covering most of it, but I think this turned out really well, especially with the embossed piece.
Is there a glossary of paper crafting terms? If so, can you comment with a link to it?
I hope you make a simple card sometime this week.
Happy crafting!


One response to “Sliced Patterned Paper Card”
Pretty cards, Malia! I think I like the more colorful one the best. I think you have to make up a name for this layout!
LikeLike